Add brand
Adding a brand is a crucial part of managing your e-commerce website's product catalog. This process allows you to associate real-life corporations with the products you sell, enabling customers to find and identify the products they need easily. This guide will walk you through the steps of adding a brand to your website.
Accessing the Add Brand Form
To add a brand, you need to click on the "+ brand" button located in the header region of the main brand page. This action opens a side menu containing the "Add Brand" form.
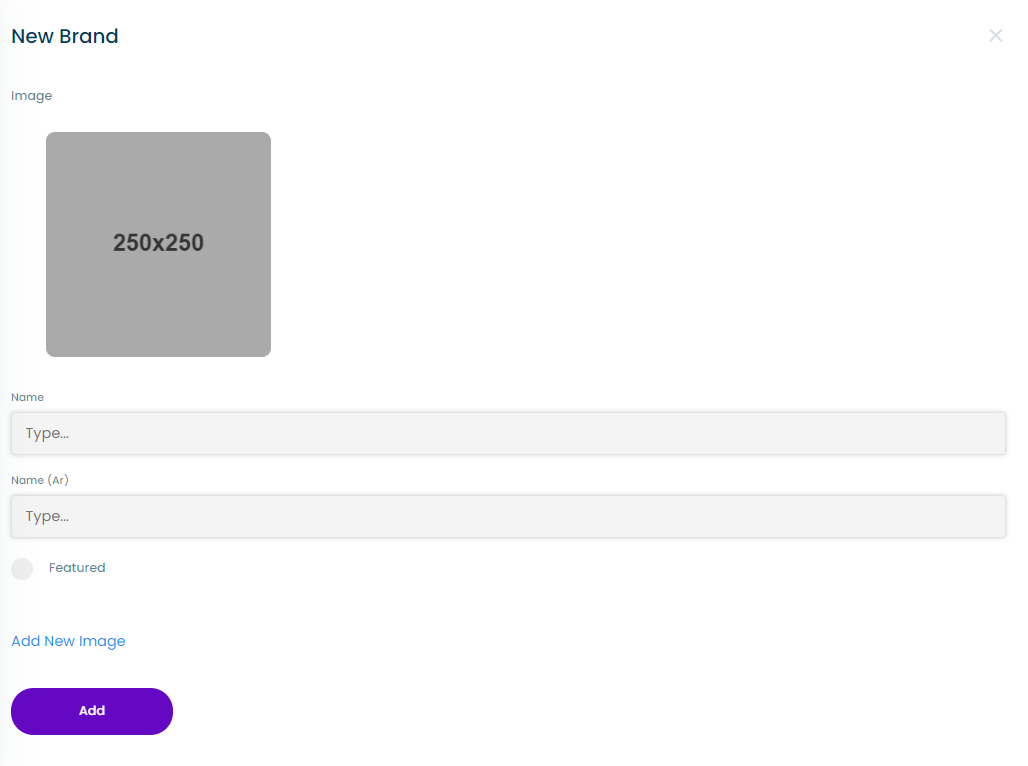
Add Brand Form
The "Add Brand" form includes the following input fields:
- Upload file button for the brand's main image: Allows you to upload an image for the brand.
- English and Arabic names input fields: Allows you to enter the name of the brand in both English and Arabic languages.
- Featured checkbox: Indicates whether the brand should appear in the brands slider on the main page.
- Add image button: Opens the Brand Image subform.
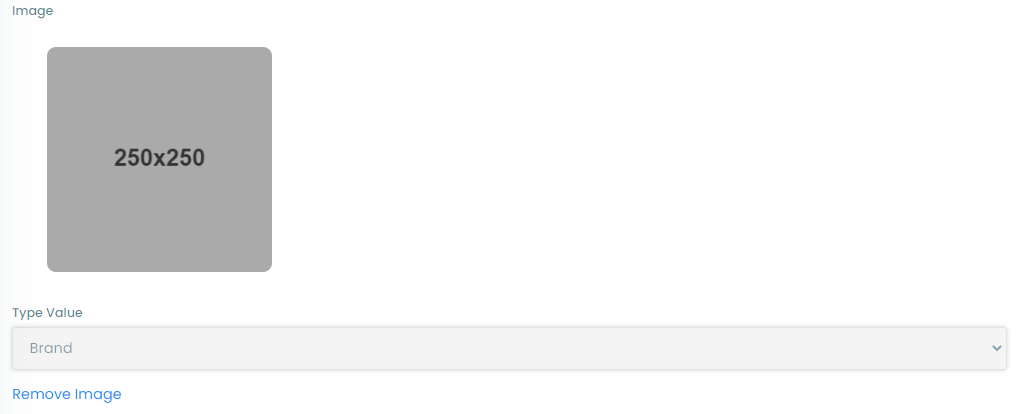
Brand Image Subform
The Brand Image Subform includes the following input fields:
- Image upload button: Allows you to upload an image for the brand.
- Type value dropdown list: Includes two options:
- "Brand," which makes clicking on the image in the brand page on the site take the site visitor to this brand's products.
- "List (link)," which makes clicking on the image in the brand page on the site take the site visitor to a link that the user enters in a "List (link)" input field.
- Remove image button: Allows you to remove the uploaded image.
note
When pressing on the brand in the Homepage of the main site this opens a brands page that contains the images added to the brands